4/1/2021
True to Size
Keith Barry
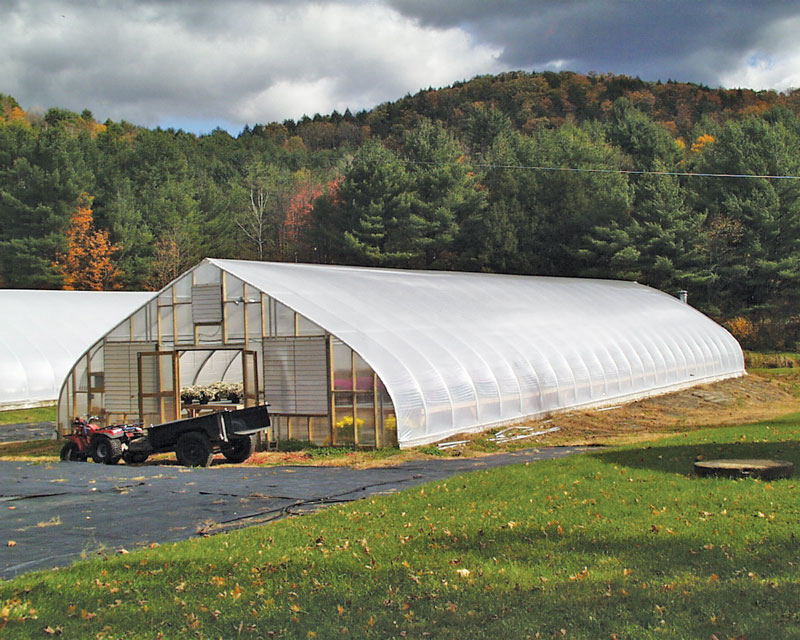
The easiest way to measure for poly on a freestanding greenhouse structure is to throw a 100-ft. rope or tape measure up and over the greenhouse. You’ll also need something with some weight that you can tie to the end of your rope or tape measure. Give yourself enough slack to make it over the greenhouse and have it land on the other side (Figure 1).
Once completed, put the “dummy” end of the tape you just threw over to the baseboard. Have both people pull tight over the entire arch of the house; this will account for the arch’s radius accurately. Read your length from the side you threw from. Now you have the total measurement from ground to ground and you can select your poly width accordingly. As always, give yourself extra slack on each side (2 ft. is recommended) so you don’t come up short.
Off with the old, in with the new
If you’re measuring for roof poly on your gutter-connected house, the process is a little different. Most of the time, your roof covering, sidewall covering and end wall covering are installed in separate stages.
For measuring your roof poly, the easiest way is to lean a ladder up against the side gutter of the house with at least a 25-ft. measuring tape. Have another person go inside of the greenhouse bay and stand directly below the ridge to look up and make sure the tape measure is creeping toward the peak
of the bay.
Now remember, we’re only measuring for roof poly from gutter to gutter, not ground to ground like we did for the freestanding house. Once the tip of the tape measure reaches the peak of the house, have the person inside tell the tape wielder to stop and measure to the gutter. Record your measurement from gutter to peak and multiply by 2 to get the full gutter to gutter footage.
 Figure 1. The easiest way to measure for poly on a freestanding greenhouse structure is to throw a 100-ft. rope or tape measure up and over the greenhouse.
As always, we want to add a couple of feet on both sides to make sure we don’t end up short. Note that not all bays of gutter-connected greenhouses are the same width, so make sure you check all the bays, and if there’s a smaller or larger bay, make sure you measure that one as well, for it will take a different size poly sheet.
Things to consider:
1. There are seasonal versions of poly. The typical life span of poly is one-year and four-year plastic (3 mil. and 6 mil.).
2. The ideal time or special weather conditions to consider when planning to replace poly is a day with no rain or wind. Preferably early in the morning when winds are minimal.
3. If you know it’s been four years since the replacement of poly, then it will be close to having to replace it again. It’s recommended to check the corners or arch of your greenhouse to make sure there aren’t any tears and to make note of where they are.
4. A typical size greenhouse (30 ft. x 96 ft.) can take up to a couple of hours with four to six people.
5. The most common tools to have on hand are a wire lock base with wiggle wire to attach the poly to your greenhouse. Also have a roll of poly film mending or repair tape.
6. Be mindful of the elements, particularly in the Northeast region. This should be a factor to consider, not only from the standpoint of what type of covering and structural supports to purchase, but how to position and protect greenhouses against the elements. GT
Keith Barry is a Construction Specialist with Griffin.